json-serverでサクッとモックサーバーを作る
json-serverでモックサーバーを作っていきます。フロントエンドの開発中にAPIがまだ整備されていなかったりする時とかにサクッと作れて便利です。
まずはlocal環境づくり
今回はwebpackで作成していきます。
初期化
npm init
必要なパッケージをインストール
webpack
npm install webpack webpack-cli webpack-dev-servertypescript(webpackなので、ts-loaderもインストール)
npm install typescript ts-loaderaxios(タイムアウトの設定とか楽なのでいつも脳死で入れてしまう)
npm install axioswebpackの設定
ルートディレクトリにwebpack.config.jsを作成します。
const path = require('path');
module.exports = {
  entry: {
    bundle: './src/app.ts'
  },
  output: {
    path: path.join(__dirname, 'dist'),
    filename: '[name].js'
  },
  resolve: {
    extensions: ['.ts', '.js']
  },
  devServer: {
    static: {
      directory: path.join(__dirname, "dist"),
    },
  },
  module: {
    rules: [
      {
        test: /\.ts$/, loader: 'ts-loader'
      }
    ]
  }
}package.jsonに追記する。
"scripts": {
    "build": "webpack --mode=development",
    "start": "webpack serve --mode=development",
  },
※webpackバージョンによって挙動が異なる場合があります。
typescriptの設定
ルートディレクトリにtsconfig.jsonを作成します。
{
  "compilerOptions": {
    "target": "es5",
    "module": "commonjs",
    "strict": true,
    "esModuleInterop": true
  }
}
ファイルの作成
ルートディレクトリにsrc ディレクトリを作成し、app.tsを作成します。
ルートディレクトリにdistディレクトリを作成し、index.htmlを作成します。
htmlの記述
作成したindex.html に下記を入れ込み。
<!DOCTYPE html>
<html lang='ja'>
<head>
<meta charset="utf-8">
<title>Hello typescript</title>
</head>
<body>
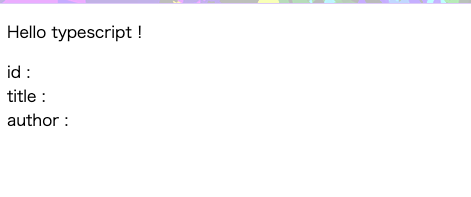
<p>Hello typescript!</p>
<div>id : <span id="post-id"></span></div>
<div>title : <span id="post-title"></span></div>
<div>author : <span id="post-author"></span></div>
<script src="bundle.js"></script>
</body>
</html>webpackを起動してみる
npm run starthttp://localhost:8080/ で起動できればOK!
json-server導入
json-server – npm
https://www.npmjs.com/package/json-server
npm install json-serverjson-serverをインストールしたら、ルートディレクトリにdb.jsonを作成します。
{
  "posts": [
    {
      "id": 1,
      "title": "json-server",
      "author": "typicode"
    },
  ],
  "comments": [
    {
      "id": 1,
      "body": "some comment",
      "postId": 1
    }
  ],
  "profile": {
    "name": "typicode"
  }
}次にpackage.jsonのscriptsに追記します。
"scripts": {
"build": "webpack --mode=development",
"start": "webpack serve --mode=development",
"server": "json-server --watch db.json"
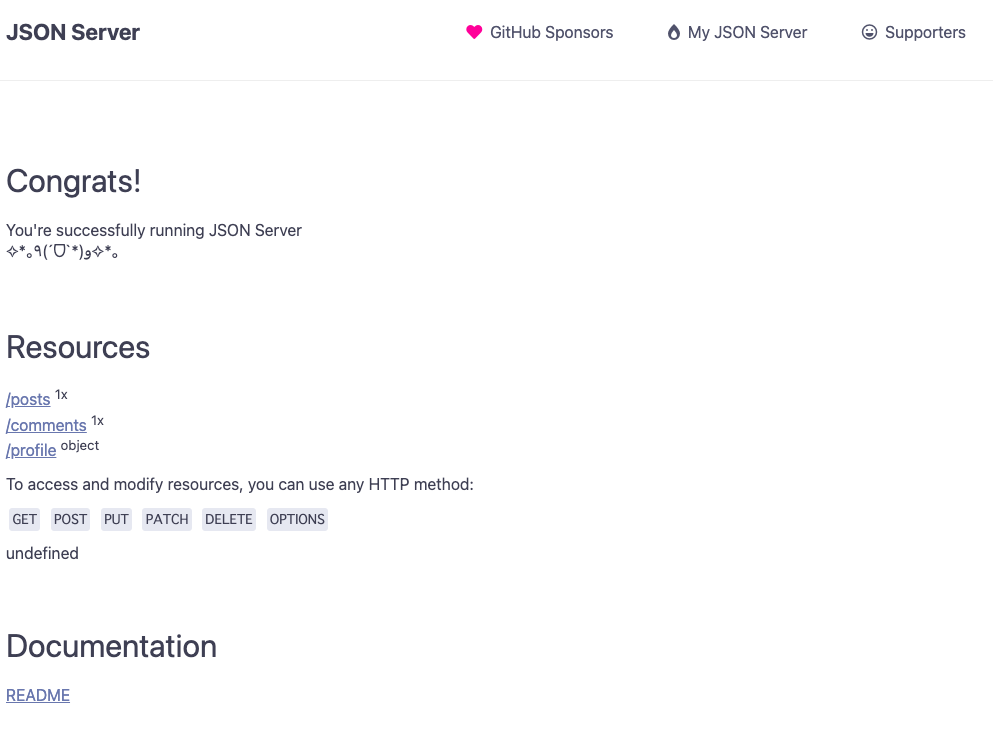
},json-serverを起動してみます。
npm run serverhttp://localhost:3000/ にアクセスできればOK!
試しに http://localhost:3000/posts/1 にアクセスしてみます。
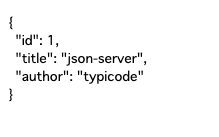
ちゃんとレスポンスが吐き出されています!
json-serverのportを変更する
初期のportは3000ですが、別のportを使いたい時はオプション追記します。
//例えば3004ポートを使いたい時
"server": "json-server --watch db.json --port 3004"
ディレクトリ構成
root/
  ├ dist/
  │  └ index.html
  ├ src/
  │  └ app.ts
  │
  ├ db.json
  ├ package-lock.json
  ├ package.json
  ├ tsconfig.json
  └ webpack.config.js
typescriptで処理を書く
import axios from "axios";
const URL = "http://localhost:3004/posts/1";
const main = async () => {
const res = await axios({
method: "post",
url: URL,
timeout: 30000,
}).catch((error) => {
return error.response;
})
return res;
}
main().then((res) => {
const postId = document.getElementById('post-id');
const postTitle = document.getElementById('post-title');
const postAuthor = document.getElementById('post-author');
if (!postId || !postTitle || !postAuthor) {
return;
}
console.log(res);
if (!res) {
//タイムアウト
throw new Error("タイムアウトです!");
}
if (res.status === 200) {
const data = res.data;
postId.textContent = data.id;
postTitle.textContent = data.title;
postAuthor.textContent = data.author;
} else {
throw new Error(`${res.status}エラーです!`);
}
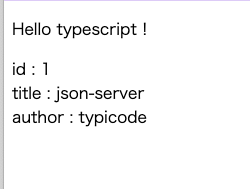
});正常に反映されました!
レスポンスを遅らせたい
レスポンスを遅らせるにはオプションで設定します。
//例えば60000ms遅らせたい
"server": "json-server --watch db.json --delay 60000"
変更したらjson-serverを修了し、再度起動します。
タイムアウトできました!

server.js を作ることでより高度なことができるようです。
詳しくは下記にやり方が載っています。
json-server – npm
https://www.npmjs.com/package/json-server